
Bio-degradable cards
Every card imaginable!
|
Bio-degradable cards Every card imaginable! 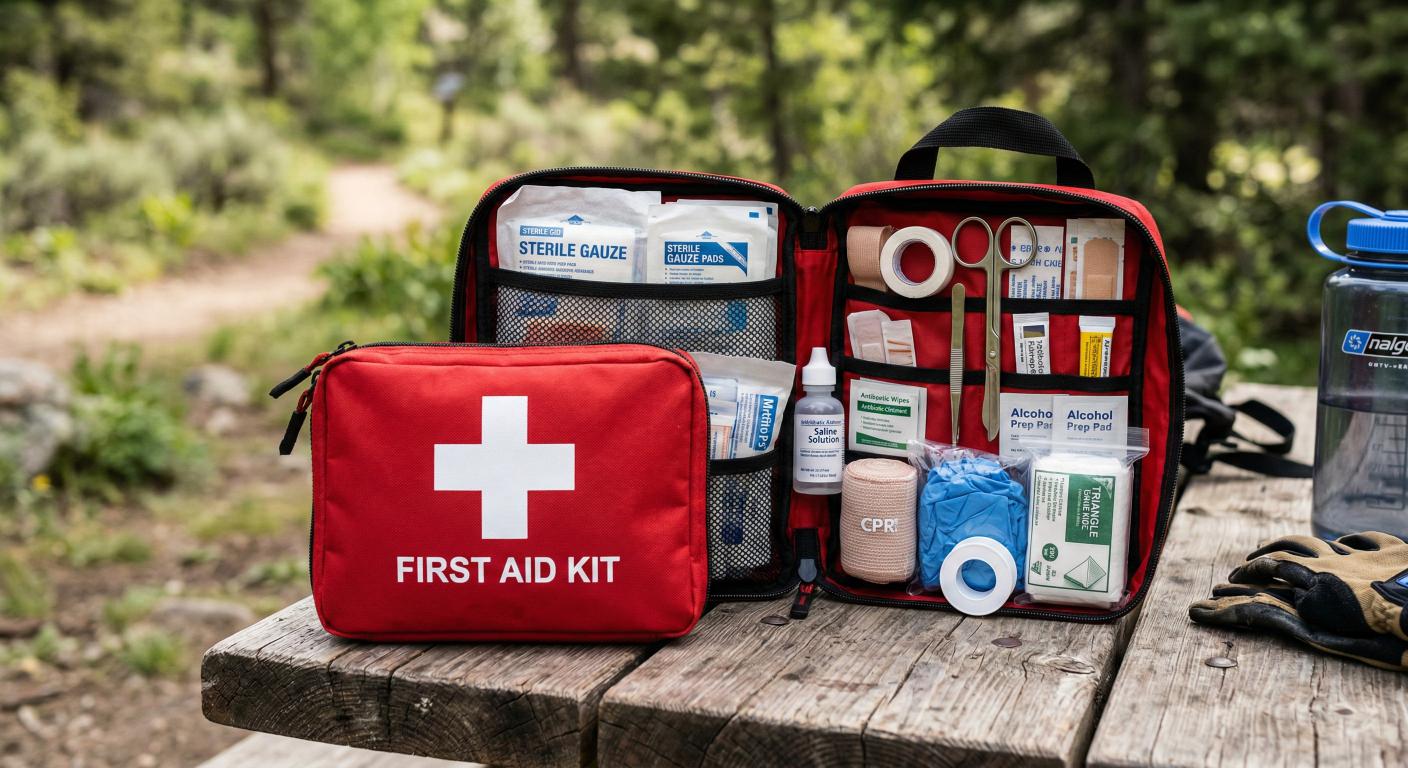
The Complete Home First Aid Guide for Blood Thinner UsersWhen you are prescribed a blood thinner—whether your doctor calls it an anticoagulant or a "DOAC"—one of the first things you are told is to "be careful of bleeding." While this is sound advice, it can often lead to a sense of anxiety about doing everyday things like cooking, gardening, or even just walking around the house. The reality is that accidents happen to everyone. The difference for you is simply that your body’s "repair crew" works a little more slowly than it used to. This doesn't mean you are in constant danger; it just means you need a slightly different set of tools and a more patient approach to first aid. This guide is designed to be your comprehensive manual for handling injuries at home. We will cover how to build a specialist first-aid kit, the exact techniques for stopping different types of bleeding, and the vital signs that tell you when a minor bump needs professional medical attention. Table of ContentsBuilding a Specialist Home First Aid KitStandard first-aid kits found in supermarkets are often too basic for someone on blood thinners. To feel truly prepared, you should put together a kit specifically designed for the way your body heals. 1. Hemostatic Dressings (Clotting Gauze)These are perhaps the most important addition to your kit. Standard gauze just soaks up blood; hemostatic gauze is treated with special minerals or fibres that actively help the blood to clot upon contact. In the UK, you can often find these in pharmacies or online. They are a "must-have" for any deep cut. 2. Non-Stick (Adherent) PadsBecause your blood takes longer to clot, the scab that eventually forms can be quite delicate. If you use a regular "fuzzy" gauze, the scab will grow into the fibres of the gauze. When you pull the bandage off, you pull the scab off with it, and the bleeding starts all over again. Always look for "non-stick" or "low-adherent" pads. 3. Tubular Bandages and Cohesive WrapInstead of just using sticky plasters, which can sometimes tear delicate "parchment" skin (especially in the elderly), use cohesive wraps. These are the bandages that stick to themselves but not to your skin. They allow you to apply firm, even pressure over a wound without damaging the surrounding area. 4. A Digital TimerThis sounds simple, but in the heat of the moment, five minutes can feel like an hour. Having a dedicated timer in your kit ensures you actually hold pressure for the full 15 minutes required to let a clot form. 5. Saline Pods and Sterile WipesKeeping a wound clean is vital, as infections can also interfere with healing. Small pods of sterile saline are perfect for flushing out grit from a garden scrape without needing to move to the sink. The Science of Pressure: Why You Must Not "Peek"We have all done it: we cut ourselves, hold a tissue on it for thirty seconds, and then lift it up to see if it’s stopped. For someone on blood thinners, this "peeking" is the number one reason why minor cuts become long-term problems. When you cut a blood vessel, your body tries to create a "plug" using platelets and proteins. This plug is very fragile at first—think of it like wet cement. Every time you lift your bandage to check the progress, you are essentially "stepping in the wet cement." You rip away the tiny, microscopic foundations of the clot, and the process has to start from zero. The 15-Minute Rule:
Advanced Management of NosebleedsNosebleeds (or "epistaxis") are the most common complaint for people on blood thinners. They often happen because the lining of the nose becomes dry, especially during the winter when we have the central heating on high. Why Leaning Back is DangerousYou may have been taught as a child to tilt your head back. For a blood thinner user, this is dangerous. It allows blood to flow down the back of your throat and into your stomach or your airway. Blood is a natural irritant to the stomach; if you swallow too much, it can cause you to vomit, which then increases the pressure in your head and makes the nosebleed even worse. The Proper Technique
Head Injuries: The "Hidden" DangerThis is the area where we must be most vigilant. Because you are on blood thinners, the danger of a head injury isn't the bump on the outside—it’s the potential for a "slow bleed" on the inside. When a person who isn't on blood thinners hits their head, the blood clots quickly and the pressure stays stable. For you, a small vein could leak slowly over several hours or even days. This is why we insist that any significant blow to the head requires a medical check, even if you don't lose consciousness and even if you don't have a "goose egg" bump. Signs of a "Slow Bleed" (Seek help immediately if these occur):
Managing Bumps and Internal BruisingWe often talk about "bruising like a peach," but for a blood thinner user, a bruise is actually a collection of blood trapped under the skin (a haematoma). The R.I.C.E. Method (Adapted for you)
When the Injury is Internal: Recognizing the SignsNot all injuries come from a cut or a bump you remember. Sometimes, a "bleed" can happen internally, perhaps from a strain or a minor internal tear. You should be familiar with these "silent" warning signs:
In any of these cases, do not wait. A quick call to 111 can help you decide if you need to be seen by a doctor. Aftercare: The First 48 HoursOnce you have successfully stopped a bleed or managed a bump, your job isn't quite over. The first 48 hours are the "healing window."
Communication: Your Medical ID in ActionIn every first-aid scenario, communication is your most powerful tool. If you are ever in a situation where you need medical help, the absolute first thing you must do is state clearly that you are on a blood thinner. If you are calling 111, your GP, or 999, lead with that information: "I have had an injury and I am taking a blood thinner." This simple sentence immediately changes the clinical pathway. It alerts the triage team to the fact that your situation could be more urgent than it appears on the surface, moving you up the priority list because they understand the potential risks of internal or prolonged bleeding. There may be situations where you are feeling too faint to talk, or perhaps you are unconscious following a fall. This is why having your medical information clearly accessible is a critical safety measure. Whether it is a note in your wallet, an app on your phone, or a physical medical alert, having that information visible ensures that paramedics can provide the correct care immediately.
ConclusionLiving on blood thinners does require a bit more vigilance, but it shouldn't stop you from enjoying your life. By upgrading your home first-aid kit, mastering the art of the "15-minute pressure," and knowing exactly which signs to watch out for, you are taking the power back. You aren't just waiting for an accident to happen; you are prepared to handle it like a professional. Keep your medical information accessible, keep your first-aid kit stocked, and remember: most injuries are manageable if you stay calm and give your body the time it needs to do its work.
© 2024 The Card Project Uk Ltd
VAT: 453 2087 06
|