Designing Your Perfect Bespoke Business ID Card on Canva
Designing Your Perfect ID Card on Canva: A Detailed Step-by-Step Guide with Extra Tips
Canva has become one of the most popular tools for our customers designing ID cards, and it's easy to see why. It's completely free for everything you'll need for a standard card, it works brilliantly on phones, tablets, or computers, and you don't need any previous design experience to get a smart, professional-looking result. Thousands of the custom designs we print every year start life in Canva – from simple child safety cards and personal photo IDs to employee badges, club memberships, school lanyard cards, and even novelty gifts.
The whole process is enjoyable once you get going, and because you can see exactly how your card will look on screen, there's no guesswork. Many people tell us they were surprised at how quickly they created something they were really proud of. This guide goes into more depth than most, with extra tips, common shortcuts, and practical examples to help you avoid little hiccups and make the most of Canva's features.
Why Canva Is Ideal for ID Card Design
Here's why Canva fits so well with our printing service:
-
No cost for the essentials: The free version includes thousands of templates, photos, icons, and fonts – more than enough for almost any ID card project. You only need the paid version if you want specific premium elements.
-
Perfect sizing for our cards: You can set a custom canvas size that matches our exact print specifications, so what you see on screen is what you'll get in your hand.
-
Real-time collaboration and saving: Everything saves automatically to the cloud, and you can share a link with a friend or colleague for feedback before finalising.
-
Built-in help and inspiration: Canva's search shows you thousands of ready-made ID and badge examples, so even if you're stuck for ideas, you can adapt something close to your needs.
Full Step-by-Step Guide to Creating an ID Card in Canva
We'll cover every stage in detail, including shortcuts and best-practice tips we've picked up from years of seeing Canva files.
-
Create your account and set the correct canvas size: Visit canva.com and sign up (or log in) – it's quick and free. Click "Create a design" in the top right, then choose "Custom size". Enter 1036 pixels width and 660 pixels height, then click "Create new design". This size gives exactly 300 DPI at our standard credit-card dimensions (85.6mm × 54mm), ensuring sharp printing with no blurriness.
-
Find or choose a starting template: In the search bar at the top of the editor, type "ID card", "badge", or "business card". You'll see hundreds of free templates – some portrait, some landscape, some minimalist, some colourful. Click one that feels close to what you want and it will load onto your canvas. Don't worry if it's not perfect; everything is fully editable. Tip: Landscape orientation usually works best for standard ID cards.
-
Upload your own photos and logos: On the left sidebar, click "Uploads" then "Upload files". Add your headshot photo, company logo, or any other images. Drag them onto the canvas and resize by pulling the corners (hold Shift to keep proportions). For portrait photos, aim for the face to take up a good portion of the space without looking cramped – roughly oval or circular frames often look neatest.
-
Add and style your text: Click "Text" on the left and choose a heading, subheading, or body text box. Type your details – name, ID number, role, expiry date, or emergency contacts. Highlight the text to change font, size, colour, and spacing. Recommended fonts for readability on small cards include Arial, Helvetica, Roboto, Montserrat, or Open Sans. Keep key information at least 12–14 points and secondary details at 10 points. Use bold for names or titles to make them stand out.
-
Build a balanced layout: Arrange elements so the card doesn't feel too crowded. A common layout that works well: photo on the left third, name and title in larger text next to it, then smaller details underneath or on the right. Use Canva's grid view (View → Show rulers/grid) to help align everything neatly. The alignment guides that appear when you drag items are really helpful for keeping things straight.
-
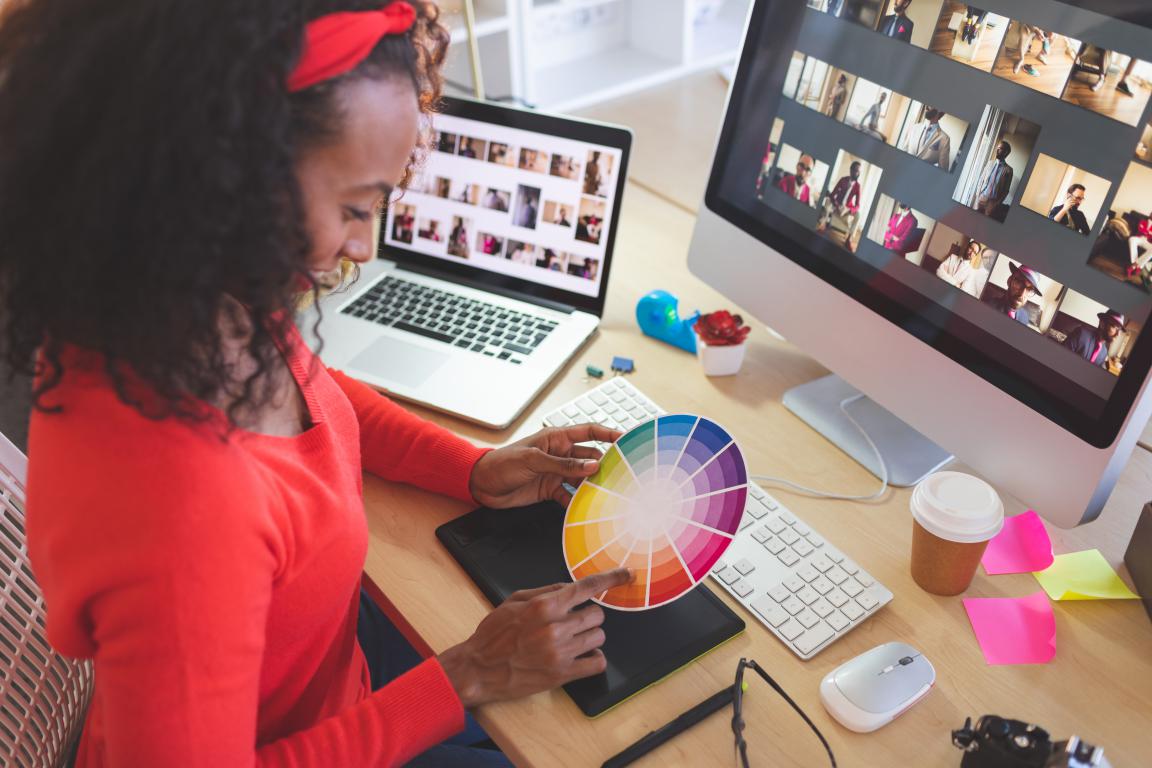
Choose colours that print reliably: Pick 3–4 colours at most for a clean look. Use the colour wheel or eyedropper tool to match colours exactly from your logo or photo. For vibrant results, slightly richer shades often print better than very pale pastels. If you're designing for a school or club, matching official colours makes the cards feel more authentic.
-
Add background and decorative elements: Click "Background" to add a solid colour, subtle gradient, or pattern. For edge-to-edge printing, make sure the background fills the entire canvas. Then go to "Elements" and search for "badge border", "frame", "shield", or simple lines – many are free and add a professional touch without overwhelming the design. You can also add small icons like a phone symbol next to a contact number.
-
Set up properly for full-bleed printing: To avoid any white edges, extend your background colour, image, or pattern right to the very edge of the 1036 × 660 canvas. Keep all important text, photos, and logos at least 50–60 pixels inside the edges (roughly 4–5mm in real size) – this is the "safe zone" so nothing gets trimmed during cutting. If you want to be extra precise, download our free template from the website and import it as a background layer in Canva for guides.
-
Add a back design for double-sided cards: If you're ordering double-sided printing, duplicate your design (top menu → Duplicate page), then edit the second page with complementary information – QR code, terms, map, or extra contacts. Keep the style consistent between front and back for a polished feel.
-
Final checks and download: Zoom out to 25–30% to see how it will look at actual card size. Check spelling, alignment, and readability. Ask someone else to glance at it – fresh eyes often spot things you've missed. When you're happy, click "Share" → "Download". Choose PNG format, tick "Transparent background" only if you need it (usually not for ID cards), and make sure "300 DPI" is selected. Save both front and back as separate files if doing double-sided.
Extra Tips and Tricks from Regular Canva Users
These are the things that make the difference between a good design and a great one:
-
Use layers wisely: In the "Position" menu, send backgrounds to the back and bring text forward so nothing gets hidden.
-
Create a QR code inside Canva: Search "QR code" in Elements – there's a free generator built in. Link it to a website, contact details, or digital form.
-
Make rounded corners: Select your photo, click "Edit image" → "Frames" and choose a rounded rectangle or circle for a modern badge look.
-
Keep file sizes manageable: PNG files from Canva are usually fine for our uploader (under 50MB), but if yours is large, choose JPEG at high quality instead.
-
Save multiple versions: Duplicate your design before making big changes so you can compare options.
-
Accessibility matters: Use good contrast (dark text on light background or vice versa) so the card is easy to read for everyone, including in low light.
Designing your own card in Canva really does give you complete control, and the results can look every bit as good as professionally commissioned designs – often better, because they're exactly what you wanted. Take your time, enjoy the process, and remember that simple, clear layouts almost always look the most effective on a small card.
Once your design (or designs) are ready, head to our website to upload – the preview step will show you exactly how they'll print. We're looking forward to turning your Canva creation into durable, professional cards you'll be proud to use!
© 2024 The Card Project Uk Ltd
VAT: 453 2087 06
|